What Is Gain Staging?

Gain staging is the practice of managing your audio's level at every step of the signal chain — input, recording, effects, mix, master — so that each stage receives a signal that's strong enough to sit well above the noise but never so strong that it slams into the ceiling and distorts. Done well, it's invisible: the audio simply stays clean and easy to work with from the microphone all the way to the finished file. Done poorly, it's the hidden cause of a surprising number of problems people blame on their gear or their room.
The word "stage" is the key. Audio doesn't travel in one jump — it passes through a series of gain-changing steps, and each can help or hurt the level it hands to the next. Gain staging is the habit of keeping the signal healthy at each handoff instead of hoping to fix everything at the end.
The signal chain, stage by stage
Every recording and mix moves through roughly the same path. Naming the stages makes it obvious where level can go wrong.
- Input (the source). A microphone, instrument, or line-in feeding the system. Too quiet here and everything downstream inherits a weak signal; too loud and you can overload before you've even started.
- Preamp / interface gain. The knob that brings a quiet source up to a usable level. This is where most level problems are born, because it's the first big multiplication of the signal.
- Recording (the digital capture). Where the analog level lands as numbers in your DAW or recorder. This is the stage where a hard ceiling appears — 0 dBFS, the point a digital signal can't exceed.
- Plugins and effects. EQ, compression, saturation. Many of these change level as a side effect: a bright EQ boost or a saturator can push a signal several decibels louder than it went in.
- Mix bus. Where all your tracks sum together. Ten quiet tracks can add up to a hot bus, so the total often surprises people.
- Master. The final stage, where you set the delivered loudness and a protective ceiling before export.
The goal isn't a specific number at every point. It's a signal that arrives at each stage with room to breathe — above the noise floor, below the ceiling — and gain staging is the ongoing decision to keep it that way down the chain.
Why it matters
Two failures sit at opposite ends of the level range, and good gain staging keeps you away from both.
Too hot, and you clip. Push a digital signal past 0 dBFS and the system runs out of numbers to represent it, so it flattens the tops of the waveform instead. That flattening is audio clipping, and it adds harsh, permanent distortion that no later processing fully removes. The insidious part is that clipping can happen inside the chain — a plugin that boosts level can clip its own output even when your final meter looks fine — so a single hot stage can poison everything after it.
Too quiet, and you bury the signal in noise. Every stage has a noise floor: a low hiss of electrical and thermal noise that's always present. Record too quietly and your sound sits only a little above that hiss, so when you later raise the level to compensate, you raise the noise right along with it. The gap between your signal and that floor is your signal-to-noise ratio, and a healthy one comes only from capturing a strong signal in the first place — turning it up afterward doesn't recover what was lost.
Between those two failures is the space you're actually aiming for. Keeping a signal in that space at every stage is what preserves headroom — the gap between your loudest peak and the ceiling — so each later stage has room to add level and shape the sound without immediately running out of space.
Practical targets
There's no single "correct" level, and gain staging is a convention rather than a fixed standard. But a few rules of thumb cover almost everything.
When recording, aim for peaks around -12 to -6 dBFS. That range is loud enough to sit well clear of the noise floor and quiet enough to leave generous headroom for the loud surprise — the laugh, the loud syllable, the accidental bump — that you didn't rehearse. Watch your input meter and set the peaks, not the average, into that zone. It's an accepted working convention, not a law, but it's a safe place to land for voice and most instruments.
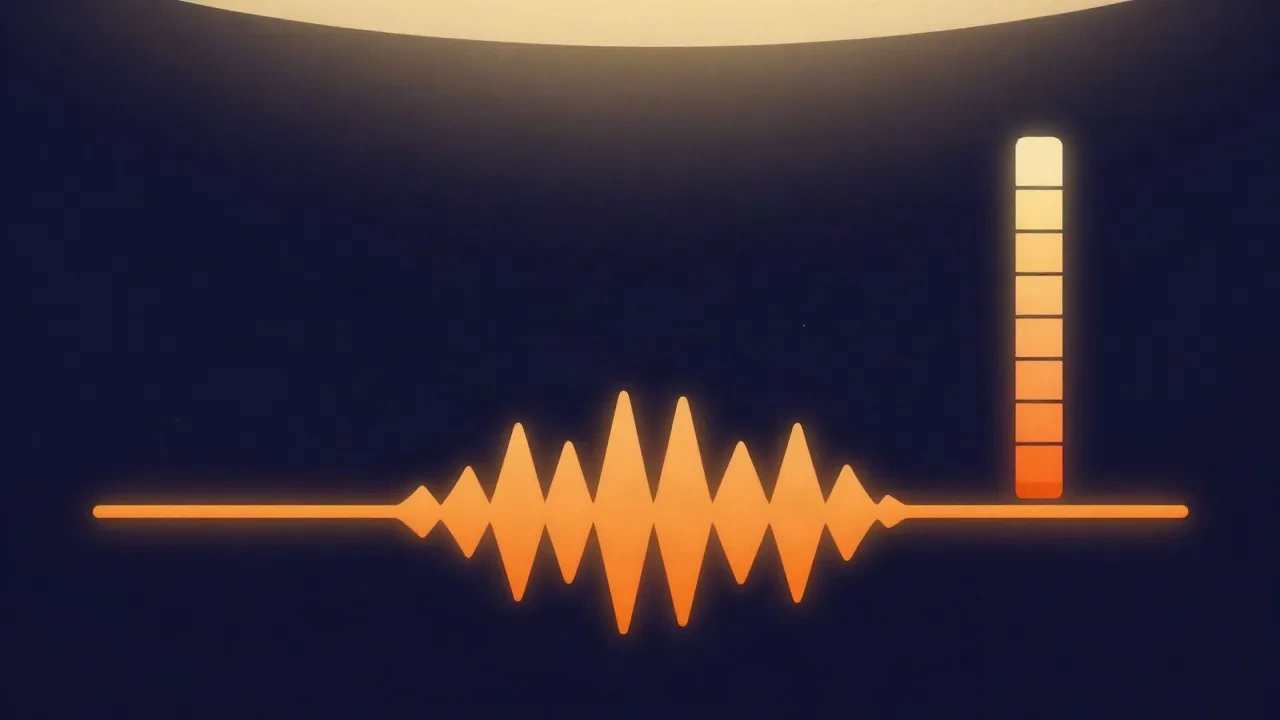
Leave headroom at every handoff, not just the end. If a plugin makes a track louder, pull its output (or the track fader) back down so the next stage receives roughly what the last one did. Keeping unity — the signal leaving a stage at about the level it entered — is the simplest way to stop level from creeping upward as it accumulates through the chain.
On the final export, set a true-peak ceiling around -1 dBTP and pick a loudness target in LUFS to match where the audio is going. Published targets include Spotify at -14 LUFS, Apple Podcasts at -16 LUFS, and broadcast's EBU R128 at -23 LUFS; the -1 dBTP peak ceiling is convention, leaving a decibel of margin for the overshoots that appear when a file is re-encoded.
Gain vs volume
These get used interchangeably, but the distinction is the whole point of gain staging. Gain sets how strong the signal is going into a stage — it's an input control that determines the level the stage works with. Volume (or a fader) usually sets how loud something is coming out, often at the very end, for the listener. Turning up your monitor volume changes what you hear but does nothing to the signal's level in the file. Turning up gain at the input changes the actual signal every downstream stage receives. Gain staging is fundamentally about gain, because gain is what determines whether a stage clips or hisses — the decibel is the shared unit under both (what a decibel actually is is worth a read if the dBFS numbers feel arbitrary).
Common mistakes
Recording too hot "to be safe." The instinct that a bigger signal is a better signal leads people to track with peaks near 0 dBFS. It feels strong on the meter and buys nothing: modern systems have enormous headroom below the noise floor, so a peak at -12 dBFS is nowhere near noisy, while a peak at -1 dBFS gives you no room for the loud moment you didn't plan for. Aim for the middle and let later stages add level deliberately.
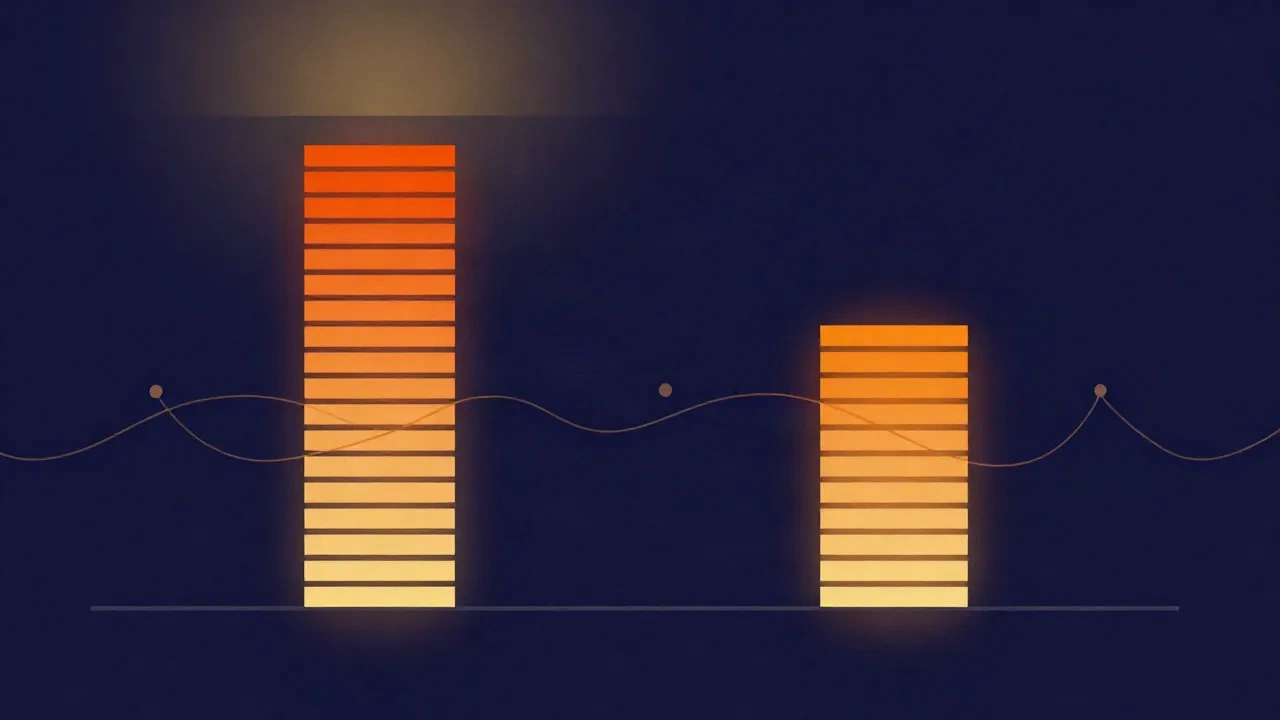
Trying to fix level at the very end. If a track was clipped on the way in, no plugin at the master stage un-clips it — the distortion is baked into the recording. Level problems are cheapest to fix at the stage where they happen and most expensive (often impossible) to fix downstream. Good gain staging is preventive, not corrective.
Ignoring the level change plugins add. Compression, saturation, and EQ boosts all change output level, and a chain of them can quietly drive a track several dB louder than it started. If a plugin's active setting just sounds louder than its bypass, you're comparing loudness, not the effect — match output level first, then judge.
Letting the mix bus creep. Individual tracks can each look fine while their sum slams the bus. Watch the master meter throughout the mix, not just at the end, and pull the whole mix down if it climbs toward 0.
Gain staging in your browser
You don't need a studio to stage gain well. On vocalcut.com, every tool runs entirely on your device — your audio never leaves your machine, and there's no account or upload step (the processing engines download to you, not your files up to a server).
It starts at the input: when you record audio in your browser, the level meter reads in dBFS, so you can set your source so peaks land in that -12 to -6 dBFS zone and keep clean headroom from the first stage. For a full walkthrough of capturing a good take, see how to record audio in your browser. At the other end of the chain, the in-browser mastering chain shows peak and loudness while you set a true-peak ceiling and a LUFS target on export — the stage where your earlier decisions pay off. And when you just need to move a finished file to a consistent level without reshaping it, the volume normalizer applies gain to hit a target while keeping peaks in check.
Gain staging isn't a technique you switch on once. It's a small, repeated habit: at every step, ask whether the signal has room above it and clean space below it, and adjust before moving on. Do that, and most of the level problems people chase at the end never appear.
Frequently asked questions
What level should I record at? Aim for peaks around -12 to -6 dBFS. That's loud enough to sit well above the noise floor and quiet enough to leave headroom for an unexpectedly loud moment. Watch the peaks on your input meter, not the average, and set them into that range. It's an accepted working convention rather than a hard standard, but it's a safe target for voice and most instruments.
What's the difference between gain and volume? Gain sets how strong the signal is going into a stage — an input control that determines the level that stage works with, and whether it clips or hisses. Volume usually sets how loud something is coming out, often at the end for the listener. Turning up monitor volume changes what you hear without touching the file; changing input gain changes the actual signal every later stage receives. Gain staging is about gain.
Why does gain staging matter if I can just normalize at the end? Because normalization only shifts overall level — it can't repair damage done earlier. If a stage clipped, the distortion is permanent, and if a take was recorded too quietly, raising it later raises the noise with it. Gain staging keeps the signal healthy at each stage so there's nothing to repair. Normalizing at the end sets the final loudness; it doesn't undo bad staging.
Is gain staging still necessary with modern digital audio? Yes, though the stakes are lower than in the analog era. Digital systems have generous headroom and low noise, so small level choices are more forgiving. But the two hard limits remain: clip past 0 dBFS and you distort; record too quietly and you fight the noise floor. Staging gain sensibly keeps you comfortably between them.