From Raw Recording to Finished Edit
Almost everyone ends up with a raw recording at some point: a phone capture of a band rehearsal, a voice memo idea from the car, audio pulled off a live show, or a rough demo that needs to become presentable. The gap between "raw recording" and "finished, shareable file" feels bigger than it is — mostly because it's not obvious where to start. Here's a sensible order of operations that works for most everyday projects, using nothing but a browser. Not every project needs every step; the point is to stop you guessing what comes next. (No recording yet? You can capture one right in your browser, or pull the audio out of a video clip to start from.)
Step 1 — Trim the parts you don't need
Almost every raw recording has dead weight at the edges: silence before anyone starts, the fumble to hit record, a long tail of room noise at the end. Trim it first. This one move does more for how "finished" something feels than people expect — a clean start and end read as intentional, while dead air reads as unedited even if everything between is great. Mark where the useful content truly begins and ends, then cut just outside those points, leaving a small buffer of natural sound rather than an instant hard cutoff.
Step 2 — Decide if you need to isolate anything
Plenty of projects need this; plenty don't. If you're building a remix or mashup, want an instrumental to sing over, or need to replace one element while keeping another, this is where you separate vocals from the instrumental. If you're just cleaning up a straightforward rehearsal, lecture, or voice memo, skip it. The question to ask: do you actually need one isolated part on its own, or just the whole recording cleaned up and combined with other material? Only the first calls for separation.
Step 3 — Adjust pitch or tempo, if the project calls for it
Also optional. If you're syncing audio to a reference track, matching a backing track to a vocal in a different key, or testing how something sounds transposed, this is where it happens. Useful habit: make pitch or tempo adjustments before you combine clips, not after — it's far easier to match one clip to a fixed reference than to fix several already-joined clips at once. No pitch or tempo change needed? Skip it; that's normal.
Step 4 — Combine everything into one file
With your pieces trimmed, isolated if needed, and adjusted, the last technical step is joining them into a single file — an intro onto the main recording, multiple takes stitched together, a few short pieces made continuous. This is also the moment for a full listen-through in order, because problems invisible in individual clips — inconsistent volume, an awkward gap, a missed edit — become obvious once everything plays back as one piece.
Step 5 — Listen back before you call it done
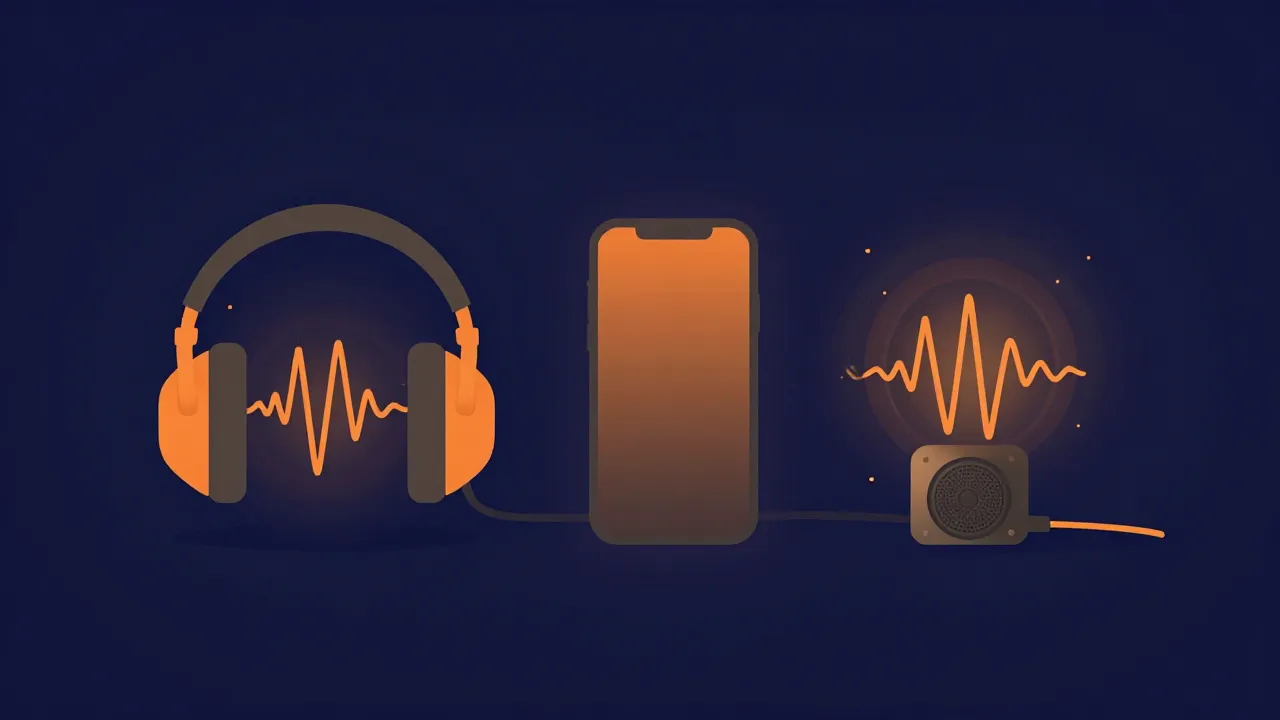
The final step isn't a tool step at all — it's listening to the whole finished file the way an actual listener will, ideally on a different device than you edited on, since headphones and laptop speakers hide problems that jump out on a phone speaker or in a car. This is where you catch the small stuff: a trim a touch too tight, a level slightly off between sections, a transition that felt smoother while zoomed into the waveform. Five minutes here catches most small mistakes before you publish. One last optional touch before you share: tag the file with a title, artist, and cover art so it displays correctly wherever it lands.
Why this works without installing anything
None of this needs a production setup, an account, or any cost. Trim the recording, separate a part if needed, adjust pitch or tempo, and combine the pieces — all in a browser tab, all processed locally, all free. Most projects skip a step or two; the value is having a sensible order to work through so you're never stuck wondering what's next.